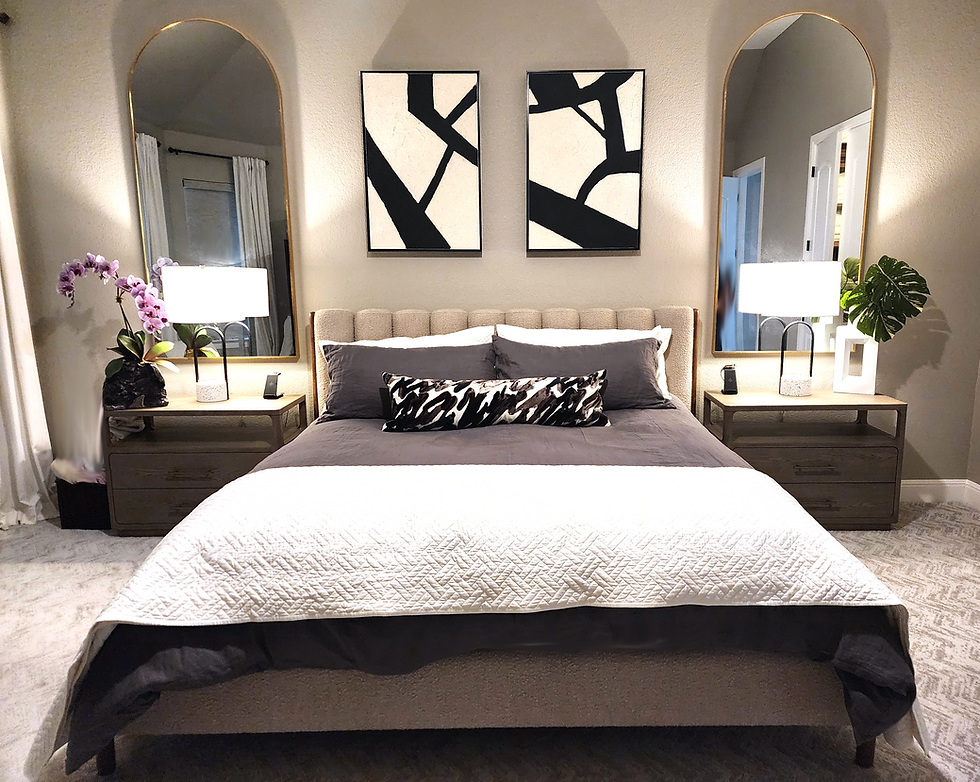
Mastering Layered Lighting in Austin Luxury Homes (Without the Glare)
- Davinci Interiors

- Aug 18
- 4 min read
Central Texas gives us spectacular light—big windows, wide skies, and sunsets that steal the show. The challenge inside the home is different: creating glow, not glare. The answer is layered lighting, a deliberate mix of sources that makes every room feel effortless day and night.
Inspired by our recent trip to the Lutron Showroom and what they do with layered light and subtle changes in color and warmth we are exploring an often over-looked aspect of design--lighting.

Why layered lighting is “quiet luxury”
Great lighting disappears into the experience. It flatters materials, protects art, supports daily routines, and brings architecture to life. Done well, it also future-proofs a home: your rooms feel balanced at noon in July and intimate on a January evening—without constant fiddling.
The four layers (and how to use them)
1) Ambient
Your overall wash of light. Think architectural downlights or indirect cove lighting that set a calm baseline.
Use wide beam spreads to avoid “hot spots.”
Position cans off the centerline of seating to prevent shadows under eyes.
In tall spaces, consider uplighting (coves or wall washers) to make volumes feel gentle, not cavernous.
2) Task
Focused light for what you do—chopping, reading, makeup, homework.
Kitchen: Under-cabinet or under-shelf lighting aimed toward the backsplash to kill counter glare.
Bath: Vertical sconces at eye level on both sides of the mirror to eliminate shadows.
Office/Reading: Adjustable lamps with cut-off shades to keep light out of your line of sight.
3) Accent
Light that shapes texture and draws the eye.
Aim adjustable spots at ~30° to artwork to avoid glare and hard reflections.
Wash stone or plaster with a grazing angle to highlight texture without creating hotspots.
Use narrow beams on sculpture or niches to add depth without over-brightening the whole room.

4) Decorative
Pendants, chandeliers, and sconces—the jewelry.
Choose pieces for scale and dimmability, not just looks.
In open plans, think of decorative fixtures as visual anchors that help define zones (kitchen island, dining table) within one continuous volume.

Color you can feel: Kelvin & CRI
A unified color story keeps rooms calm.
Bedrooms & living: 2700K–3000K for a warm, relaxing tone.
Kitchens & work zones: 3000K for clarity without the “office” feel.
Art & stone: 3000–3500K with CRI 90+ (preferably 95+) to keep colors true.
Keep color temperature consistent across connected spaces to avoid patchwork scenes.
As we saw at Lutron, with automation you can also adjust these colors to set the mood for the right time of day.
Taming Austin glare and heat
Big glass is beautiful—until late afternoon. Use light to work with the sun, not against it.
Combine interior shading (sheers + blackout or solar) with thoughtful aiming and lensing on fixtures.
Favor matte finishes on trims and baffles; they absorb stray light.
Place reflective surfaces (high-gloss stone, mirrors) where fixtures won’t hit them directly.
Controls that feel invisible
Lighting control is the difference between “nice” and “wow.” Aim for scenes, not switches.
Create a handful of presets: Welcome, Everyday, Entertain, Night Pathway.
Pair dim-to-warm or soft-on/soft-off drivers with quality dimmers for smooth fades.
In long halls and closets, vacancy/occupancy sensors add convenience without visual clutter.
For remodels, consider wireless keypads that look built-in but avoid heavy rewiring.
With today's advancements in lighting controls there is no longer a need for multi-gang bank of light switch panels.
New build vs. remodel
New build: Prewire for flexibility—dedicated circuits for art, coves, toe-kicks; control wiring home-run to a central location. Low voltage is the way to go and is much less impact on your power needs.
Remodel: Swap in higher-CRI lamps, add under-cabinet strips, retrofit adjustable downlights, and use wireless controls to layer without opening every wall.
Where to invest (and where to save) in Luxury Home Lighting in your Austin home.
Splurge:
Drivers/dimmers (quiet, flicker-free, reliable)
Adjustable, trimless or low-glare downlights in main spaces
Art lighting and beam-shaping lenses
Motorized shades in west-facing rooms
Save smart:
Secondary bedrooms and utility spaces can use simpler fixtures as long as color and CRI match the rest of the home.
Reuse decorative fixtures you love; upgrade the lamping and dimming.
A quick room-by-room cheat sheet
Great Room: Ambient (coves/low-glare downlights), task (reading lamps), accent (art/grazing on stone), decorative (statement chandelier).
Kitchen: Ambient (broad downlights), task (under-cabinet + island pendants), accent (glass uppers or niche), decorative (scaled island pendants).
Primary Bath: Ambient (indirect or soft downlights), task (vertical mirror sconces), accent (toe-kick night light), decorative (small pendant if clearances allow).
Hallway/Gallery: Uniform wall wash for art; keep floors dimmer to float the pieces.
Outdoor Living: Shielded step lights, dimmable pendants, and warm string/lantern elements for a resort feel—without lighting the neighbors’ yard.
Ready to design an Austin luxury home lighting plan for that feels as good as it looks?
We coordinate with your architect, builder, and electrician to specify fixtures, controls, and shading that deliver balanced light all day, all year—no glare, no guesswork. Book an appointment with Davinci Interiors for a consult. Follow us on @davinciinteriors123 on Instagram!


.png)


Comments